
Solar eclipses are among the most captivating celestial events. Capturing the beauty of a solar eclipse through photography requires careful planning, the right equipment, and an understanding of the safety considerations. In this article, we will delve into the steps to photograph a solar eclipse effectively, combining scientific precision and artistic expression.
Understanding the Phases of a Solar Eclipse
Before delving into the techniques, it is important to understand the various phases of a solar eclipse. Each phase offers unique photographic opportunities.
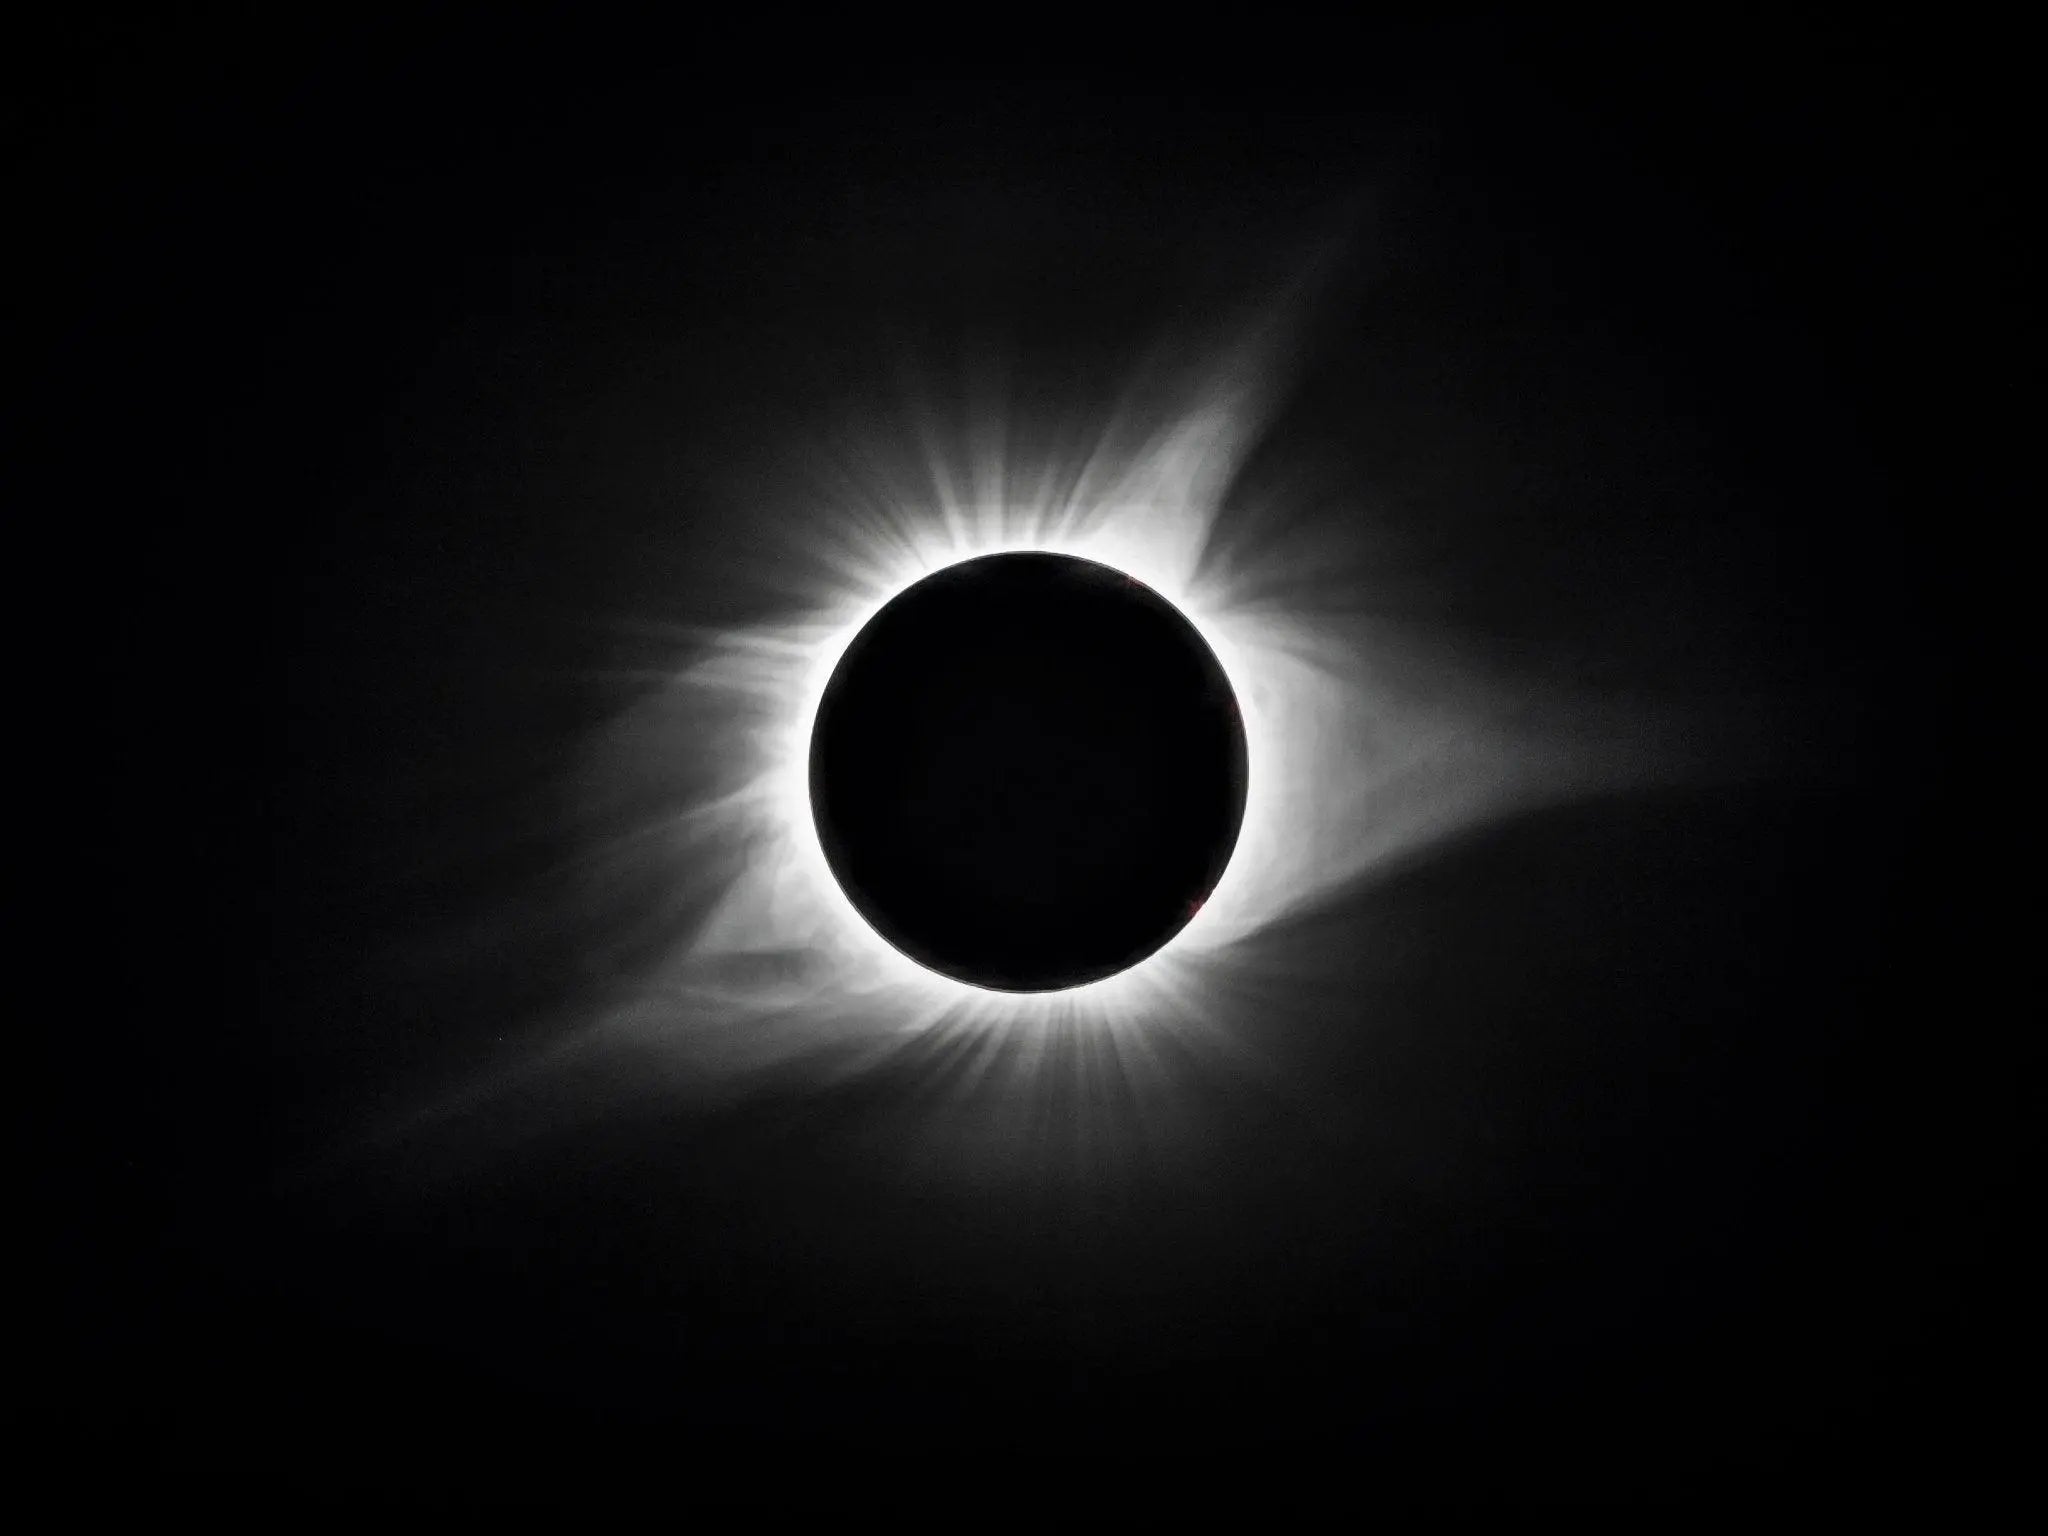
A solar eclipse unfolds in several phases, beginning with the partial phase as the Moon starts to move across the Sun's face. This leads to the second phase, called the totality for total solar eclipses, where the Moon completely covers the Sun, revealing the Sun’s outer atmosphere known as the corona; or in the case of an annular solar eclipse, the Moon covers the center of the Sun, leaving a ring-like appearance called the “ring of fire.”
Following totality or the peak of an annular eclipse, the Moon begins to move away from the Sun, marking the final partial phase until the Sun is completely visible again. This entire event usually takes a few hours from start to finish.
Equipment You’ll Need
- Camera: A DSLR or mirrorless camera with manual settings is ideal. Having control over exposure settings is crucial.
- Lenses: A telephoto lens (at least 300mm for APS-C sensors or 500mm for full-frame sensors) is recommended for close-up shots. Wide-angle lenses can capture the landscape and context.
- Tripod: A sturdy tripod is essential to eliminate camera shake, especially since you’ll be using long lenses.
- Solar Filters: Just as your eyes need protection, so does your camera. A solar filter protects your camera sensor from damage and reduces glare. This is essential during the partial phases. Some customers have asked if they can simply use ISO certified eclipse glasses as their lens filters. The answer is no. It is better to search for PET-coated filters or lens that already have the PET-coated filter installed directly on them.
- It is possible to use silver polymer solar filters as well from Thousand Oaks Optical. Those can be found here.
- Remote Shutter Release: This enables you to take photos without physically touching the camera, reducing the risk of camera shake.
- Extra Batteries and Memory Cards: You don’t want to run out of power or storage during the eclipse.
- Eclipse Glasses: Protect your eyes when framing your shots during the partial phases.
Setting Up Your Camera
- Focus: Turn off autofocus. Focus on the edge of the Sun before the eclipse starts, then don’t touch the focus ring.
- Image Stabilization: If your lens or camera has image stabilization, turn it off when your camera is on a tripod.
- RAW Format: Shoot in RAW format to capture the highest level of detail.
- Exposure Settings: The settings vary depending on the phase of the eclipse. During totality, you’ll need longer exposures to capture the Sun’s corona.
Capturing the Solar Eclipse
- Framing and Composition: Plan your framing in advance. Consider incorporating foreground elements for context.
- Bracketing: Use exposure bracketing to take multiple shots at different exposures. This increases the chances of getting a perfectly exposed image.
- Remove Filter for Totality: If you are capturing a total solar eclipse, remove the solar filter during totality to capture the corona. This is the only time it is safe to do so.
- Practice: Practice with the Sun before the day of the eclipse, to get comfortable with your equipment and settings.
Safety First
Remember to protect your eyes. Never look directly at the Sun through the camera’s viewfinder without proper protection. Use your eclipse glasses and only remove them during totality.
Post-Processing
Post-processing is an integral part of solar eclipse photography as it allows you to enhance details, adjust exposure, and create composite images. Here are steps and techniques for editing your solar eclipse photos:
Raw Conversion
If you shot in RAW format, you’ll first need to convert your files to a format such as TIFF or JPEG. Use a raw converter like Adobe Camera Raw or Lightroom. This initial phase is where you can correct white balance, adjust exposure, and recover highlights or shadow details.
Align and Stack Images
If you took multiple images, especially during the totality, aligning and stacking them in a software like RegiStax or Photoshop can help to reduce noise and enhance details. Stacking involves layering multiple photos and averaging the pixel values, which reduces grain and brings out finer details.
Fine-tuning Exposure and Contrast
Use curves adjustments to fine-tune the contrast. Create an S-curve to add contrast, which darkens the shadows and brightens the highlights. Be careful not to clip any shadows or highlights.
Enhancing Details
Use sharpening to enhance details. Be careful not to over-sharpen as this may introduce noise. You can use the ‘Unsharp Mask’ or ‘Smart Sharpen’ in Photoshop. Apply sharpening selectively, focusing on the edges and corona of the Sun.
Color Correction
Solar eclipse photos can often look monochromatic or have a color cast. Use the ‘Selective Color’ or ‘Color Balance’ adjustment layers in Photoshop to subtly enhance colors. Focus on making the corona’s color more natural, and be cautious not to oversaturate.
Noise Reduction
After applying sharpening and contrast adjustments, you might notice some noise in your image. Use noise reduction tools like ‘Reduce Noise’ in Photoshop or dedicated plugins like ‘Dfine’ from the Nik Collection.
Cropping and Composition
Finally, crop your image to create a pleasing composition. Make sure to use the rule of thirds as a guideline and keep important elements, like the Sun, positioned at the intersection of the lines.
Remember, post-processing should enhance the image without compromising the integrity and natural beauty of the celestial event. Always keep your adjustments subtle and true to what you witnessed.
Tips & Tricks for Solar Eclipse Photography
Mastering solar eclipse photography is a blend of preparation and technique. Understanding the phases of the eclipse and knowing when to change settings or filters is crucial. One invaluable tip is to practice with your gear prior to the eclipse, so you are comfortable with the settings and can focus on capturing the moment.
Also, consider incorporating foreground elements into your compositions to give context and a sense of scale to the eclipse. Don't forget to frequently check your focus, especially if temperatures change significantly during the event. Above all, immerse yourself in the experience, and don't be afraid to experiment with different settings and compositions.
Capturing a stunning photo of a solar eclipse is as much an art as it is a science, and the reward is an unforgettable image that encapsulates a celestial marvel.
Please remember that safety is paramount. Protect your eyes and equipment by using proper solar filters and observing the eclipse responsibly.
Share:
Getting Started with Stargazing
Do I Need Eclipse Glasses?